淡奶油开封以后保质期时间短,所以我并不是很喜欢做淡奶油版的蛋挞,过后总是想办法消耗淡奶油,个人觉得其实无淡奶油版的蛋挞也灰常好Ci~所以今天无淡奶油版的蛋挞教程来咯!


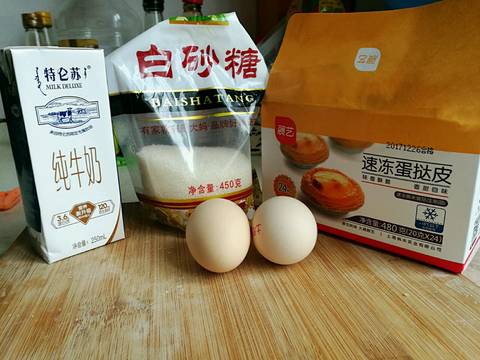
准备食材:蛋挞皮 12只(从冰箱提前拿出来解冻)
白砂糖 27g(依个人口味定,25g-30g)
纯牛奶 180g
鸡蛋 2只
第一步:鸡蛋打散,加入白砂糖之后搅拌均匀,再加入纯牛奶!
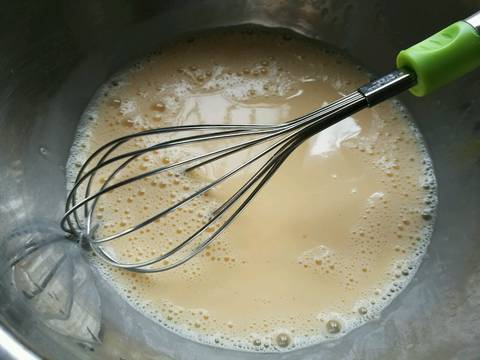
第二步:过筛!一定要过筛,过筛以后的蛋挞会更细腻,当然,如果你不介意的话,可以忽略这一步
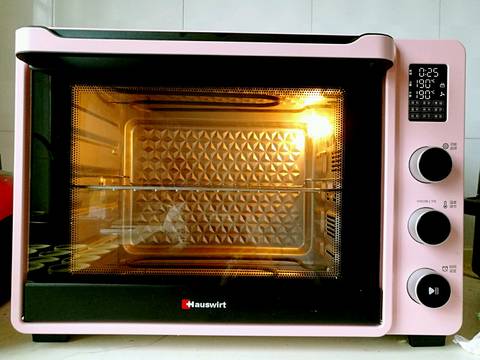
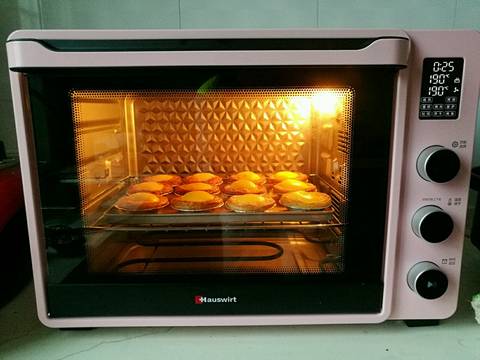
第三步:预热烤箱,190℃预热
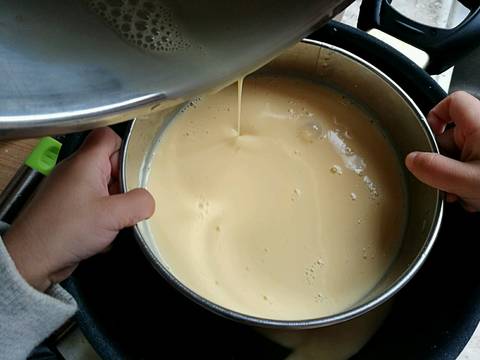
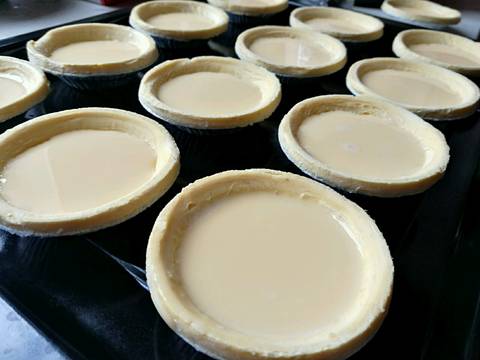
第四步:将蛋挞液倒入蛋挞皮,8~9分满即可!
第五步:设置时间190℃,烤制25分钟出炉!
奶香味十足,个人觉得吧~ 比外面卖的更好Ci,没错,奏是介么自信

 举报
举报


